As a veteran succulent player, what I enjoy the most is the marvelous process of watching the leaves slowly grow little lives. The leaf insertion tips I’m going to share today have successfully helped me increase my propagation survival rate from 30% to 85%! Whether you’re a newbie just starting out or a player looking to advance, this proven method will allow you to get chubby leaf plug babies with ease.
The Golden Rule of Leaf Selection (Core Steps)
The secret of parent selection
Choose healthy leaves in the middle and upper layers: the oldest leaves in the lowest layer are like “retired employees”, with insufficient nutrient reserves. The best choice is the “mature leaves” in the 3rd-4th layers from the bottom upwards.
Protect the perfect growing point: gently shake the leaf from side to side until it falls off naturally, making sure that the white buds at the bottom are intact (this is the source of life!).
Special Handling Tips
Drying time control: 2 days in spring and fall, 3 days in summer (Important! Last summer I was in a hurry to leaf insertion, resulting in 20% of the leaves melted)
Wound inspection criteria: use a magnifying glass to observe the formation of a translucent protective film at the bottom can be
Translated with DeepL.com (free version)

Comparison of 3 mainstream leaf-plugging methods in practice (with innovative tips)
Method 1: Classic soil cultivation method (suitable for novices)
Preparation material list:
√ Transparent seedling box (for easy observation)
√ peat soil:perlite=3:1 mixed substrate
√ Medical grade spray bottle (to prevent bacterial infection)
Operation Procedure:
Load the substrate to 2/3 of the container, spray water to a slightly moist state (hand pinched into a ball, loose hands will be scattered)
The leaves are inserted diagonally at an angle of 30°, with the buds lightly touching the soil surface.
Spray every Tuesday and Friday morning to replenish water (remember to avoid the surface of the leaves)
Method 2: Water vapor rooting method (rapid rooting program)
Innovative tool applications:
■ Take-out box modification: poke air holes in the lid of the box with a barbecue skewer
■ Water level control: keep the water surface at a safe distance of 1cm from the grid tray
Success rate improvement tips:
Add 1 drop of HB101 Energizer every Monday during water changes.
Turn to soil immediately when white roots are found (I usually do it around the 18th day)
Method 3: Air Propagation (exclusive to high humidity areas)
Environment requirement standard:
▶ Constant humidity >65% (can be combined with a mini humidifier)
▶ Daily light <2 hours (measured 8-10 am is best)
Advanced Play:
- Hanging basket hanging method: use fishing line to string leaves to hang on the balcony
- Timed Misting System: set up daily 09:00/15:00 to automatically mist for 5 seconds
Library of solutions to key problems (collection level dry goods)
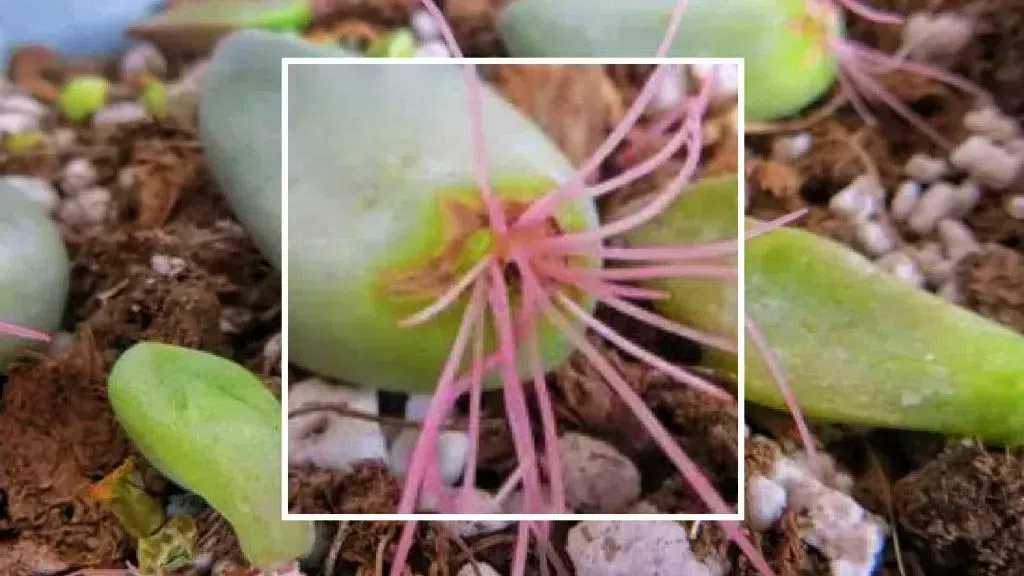
Problem #1: Just Growing Roots Without Sprouting
Emergency treatment in four parts:
① Remove excess roots with sterilized tweezers
② Soak in carbendazim solution for 15 minutes.
③ Replace the substrate with a new one and rearrange it.
③ Replace the substrate with a new one and reposition it ④ Enhance the exposure to diffused light (78% success rate)
Problem 2: Germination without rooting
Special remedial program:
√ Preparation of rooting water: 1g of vitamin B12 to 500ml of water.
√ daily noon soak the base for 10 minutes
√ Continuous operation for 5 days after observation
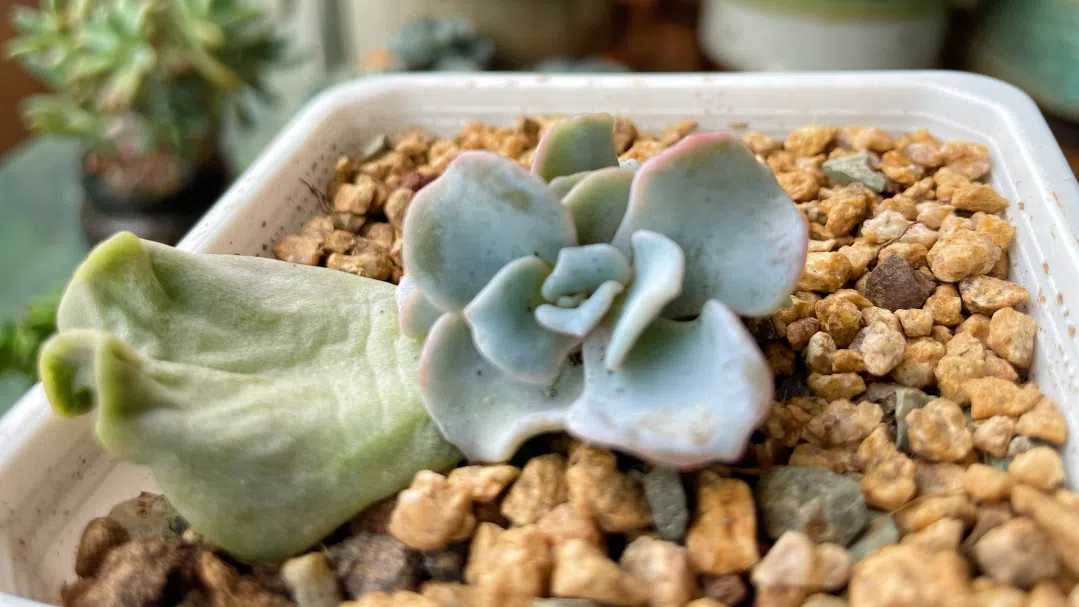
Determination of the prime time for transplanting (with growth comparison table)
Optimal transplanting standard:
- Main root length > 3cm
- Seedling diameter > coin size
- Emerging leaves ≥ 3 pairs
Exclusive soil preparation program:
Substrate: terra cotta (2cm thickness)
Middle layer: terracotta + deer swamp soil (1:1 mix)
Top layer: vermiculite + rice husk charcoal (water retention and anti-bacteria)
Year-round maintenance calendar (adjusted for climate zones)
Spring and fall (prime growing season)
Hydration 2 times per week
4 hours of light per day
Fertilizer 1 time per month
Summer and winter (critical dormant period)
▼ Water control program: 10 days of micro-hydration
▼ Shading strategy: 50% midday shade
▼ Frost protection: move indoors at <10°C
Keep these points in mind and your leaf-plugging success will take a quantum leap! I just successfully propagated 50 peach egg leaves using this method last week, and my balcony is now full of pink cuties. I look forward to seeing your leaf-plugging results, and feel free to share any questions you encounter in the comments section and I’ll answer them in detail!